(Check out Part 1 here)

Next, wet your hands by dipping two fingers in the temizu, then spread it all over both hands in order to keep the rice from sticking.. Temizu is made by mixing a 95% Water/5% Vinegar solution. Including some ice in the solution also helps to avoid sticking rice. (I have heard of some sushi chefs using gloves and rubbing a little bit of mayo all over, but I personally would advise against that.)


Next, measure out approximately 120g of sushi rice with your palm, and shape it into an oblong ball. It should be a little smaller than the size of a fist. Place it in the middle on the right side of the nori.


Next, spread the rice evenly to the left side by pulling (not pressing) the rice in 2-3 smooth motions. It is really important that you are not pressing and smashing the sushi rice together because it will make the rice hard and chewy. From here, spreading rice takes 6 quick steps.


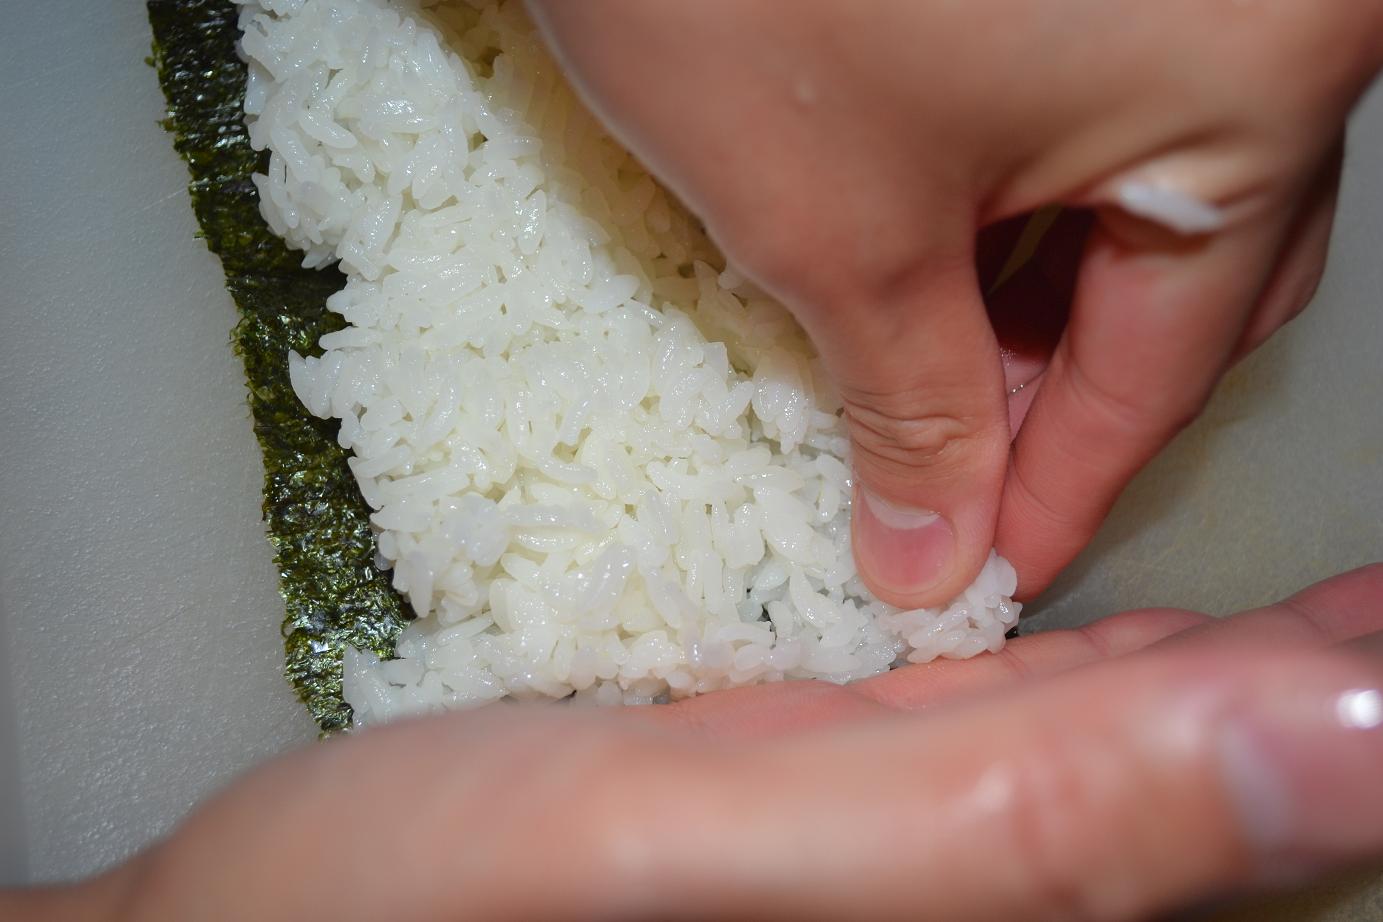


I have seen some sushi chefs just start spreading the rice without any real method. This 6 step method is the way I learned and I personally believe that it is the fastest and most effective way for spreading rice. Also remember that you don't need to take too much time on these 6 steps because you can clean up any defect later on.


Next, roll using your thumbs and keeping your other fingers in the middle.

Now, using a makisu, pinch the top and the bottom of the roll, making it nice and tight. Again, keep in mind not to smash or press the roll together. At this point, you are also shaping the roll. You want the roll to be round, but the bottom should be flat so that it can stand.


Cutting a sushi roll requires an extremely sharp, thin blade. Without a proper blade or technique, you will just end up smashing the roll. You want to use two rapid slicing motions going up. Make the first cut directly in the middle of the roll. Then cut both halves in half, and repeat until you end up with 8 pieces.

You can take this time to use the makisu to clean up the sides and keep the roll nice and tight.

That's it! Present the roll on a plate with each individual piece faced diagonally to the left. Serve it with a slab of wasabi and gari.
No comments:
Post a Comment